Family Photography
How to Pose Naturally in Beach Photos (Without Looking Stiff)
Chris McCarthy shares proven beach posing techniques from hundreds of South Shore sessions — from Nantasket to Duxbury — so you look relaxed, not stiff.
Chris McCarthy
Professional Photographer, Photography Shark · November 6, 2024 · Updated March 6, 2026
Looking stiff in beach photos is one of the most common complaints I hear from clients before a shoot. People who are comfortable, funny, and expressive in real life suddenly freeze the moment they know a camera is pointed at them. It's not a personality flaw — it's a natural response to being observed. The good news is that posing naturally is less about perfecting a pose and more about understanding what makes photos feel alive in the first place.
Having photographed hundreds of sessions on the beaches of the South Shore — from Duxbury and Scituate to Hull's Nantasket Beach — I've learned the techniques that consistently produce relaxed, authentic-looking images. Here's what actually works.
Understand Why Beach Photos Go Stiff
Before you fix the problem, it helps to understand what causes it. Stiffness in photos usually comes from two sources: self-consciousness and stillness.
When people know they're being photographed, they stop doing what they'd naturally do. They hold their breath. Their shoulders creep up toward their ears. Their jaw tightens. Their smile becomes a teeth-show instead of a real expression. The body senses it's on display and braces.
The second issue is stillness. In real life, you're never completely still. You shift your weight, tilt your head, gesture when you talk, move your hands. When people try to pose, they lock into one position and hold it, which looks nothing like how a human being actually stands.
The fix for both problems is the same: keep moving.
Choose the Right Time of Day
This isn't strictly about posing, but the quality of light affects how relaxed and comfortable subjects feel, which directly impacts how natural they look. Harsh midday sun on the beach makes everyone squint, causes deep shadows under the eyes and chin, and generates the kind of flat, washed-out photos that make people look tense.
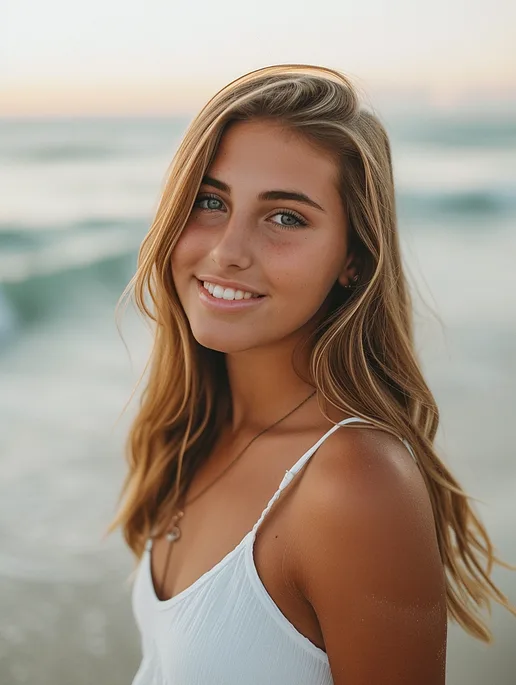
On the South Shore, the light is extraordinary in the two hours before sunset from late spring through early fall. At Humarock Beach in Scituate or the dunes at Duxbury Beach, golden hour light in July is around 7:00–8:00 PM. That warm, directional light is flattering on every skin tone, it creates dimensional shadows that add depth to portraits, and — crucially — it puts subjects at ease. Nobody squints. Nobody shields their eyes. Relaxed eyes mean relaxed faces.
For family sessions and family photos, I almost always schedule beach shoots for 90 minutes before sunset. It's also when beaches are less crowded, which helps people loosen up without feeling observed by strangers.
Embrace Movement as the Default State
The single most effective technique for eliminating stiffness is to build movement into the session rather than treating it as an exception.
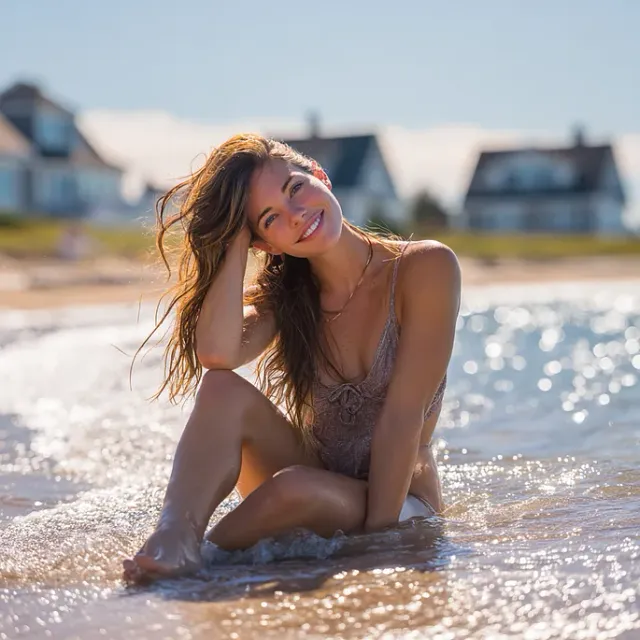
Instead of posing a subject and saying "hold still," I give them something to do. Walk toward me slowly. Turn away from me, then look back over your shoulder when I call your name. Spin. Walk along the waterline. Let the wave hit your feet and react to it.
Movement does two things simultaneously: it eliminates the physical tension of "holding" a pose, and it generates genuine micro-expressions that look nothing like a posed smile. The moment a wave hits someone unexpectedly and they laugh, the photo is there. The camera catches that half-second of real surprise or delight that no amount of coaching can manufacture.
Movement Ideas That Work Well at the Beach
- Walk slowly parallel to the shoreline, looking out toward the water
- Turn toward the camera mid-stride for a "caught in motion" look
- Run your fingers through your hair with the wind — let the wind do the work
- Look down at the sand, then look up slowly on cue
- For couples, walk hand-in-hand and simply talk to each other
- For families, let the kids lead — follow their energy rather than trying to manufacture a group pose
Use Props to Give Your Hands a Job
One of the biggest sources of stiffness is hands. When people don't know what to do with their hands, they hang awkwardly at the sides or get thrust into pockets in a way that looks staged. Giving yourself something to hold gives your hands a natural role.
At the beach, this could be a pair of sandals held in one hand, a light jacket slung over a shoulder, a beach hat you're holding rather than wearing, a bunch of flowers, or — for children's sessions — a bucket and shovel. These aren't props for the sake of props. They're tools that give your body something to organize around naturally.
For couples sessions, hands-on-each-other is the most natural prop of all. Walking with arms around each other, leaning into a partner's shoulder, hands clasped — these give couples something to do with their bodies that looks like what they actually do in life.
Master a Few Go-To Body Positions
While the goal is to avoid looking "posed," understanding a handful of basic body position principles lets you look polished without looking stiff. These are techniques I use constantly during South Shore beach sessions.
The weight shift. Stand with your weight on your back foot rather than evenly distributed. This creates a natural S-curve in the posture that reads as relaxed and confident rather than rigidly upright. It also slims the silhouette.
The three-quarter turn. Face the camera at a slight angle — roughly 30 to 45 degrees turned to one side — rather than straight-on. Full-frontal stance tends to look confrontational and wide. A slight turn creates depth and is more flattering for almost everyone.
Chin slightly forward and down. This is the single most effective technical tip for eliminating the double-chin shadow and making the jaw look defined. Pushing your face slightly forward (like a turtle extending its neck, though more subtle) and tilting the chin slightly down creates a clean jaw line in every photo.
Relaxed shoulders. Before every single shot, consciously drop your shoulders away from your ears. Take a breath and release it. This takes three seconds and makes a visible difference.
Let the Environment Direct You
One of the advantages of beach photography specifically is that the environment gives you natural direction. The water edge tells you where to walk. The sand gives you a surface to sit or lie on. Rocks or driftwood give you something to perch on or lean against. The horizon gives you something to look toward.
At Nantasket Beach in Hull, there's a sea wall with interesting texture and geometry. At Duxbury Beach, the long flat stretch of sand is ideal for walking shots that use the horizon as a leading line. At Scituate's Third Cliff, the rocky ledges create natural sitting and standing options. Knowing these locations lets me direct clients toward positions that work with the environment rather than fighting it.
If you're shooting on your own, look for these environmental cues: Where does the shoreline curve? Where is the light coming from? What's behind you in the frame? Let the location tell you where to stand.
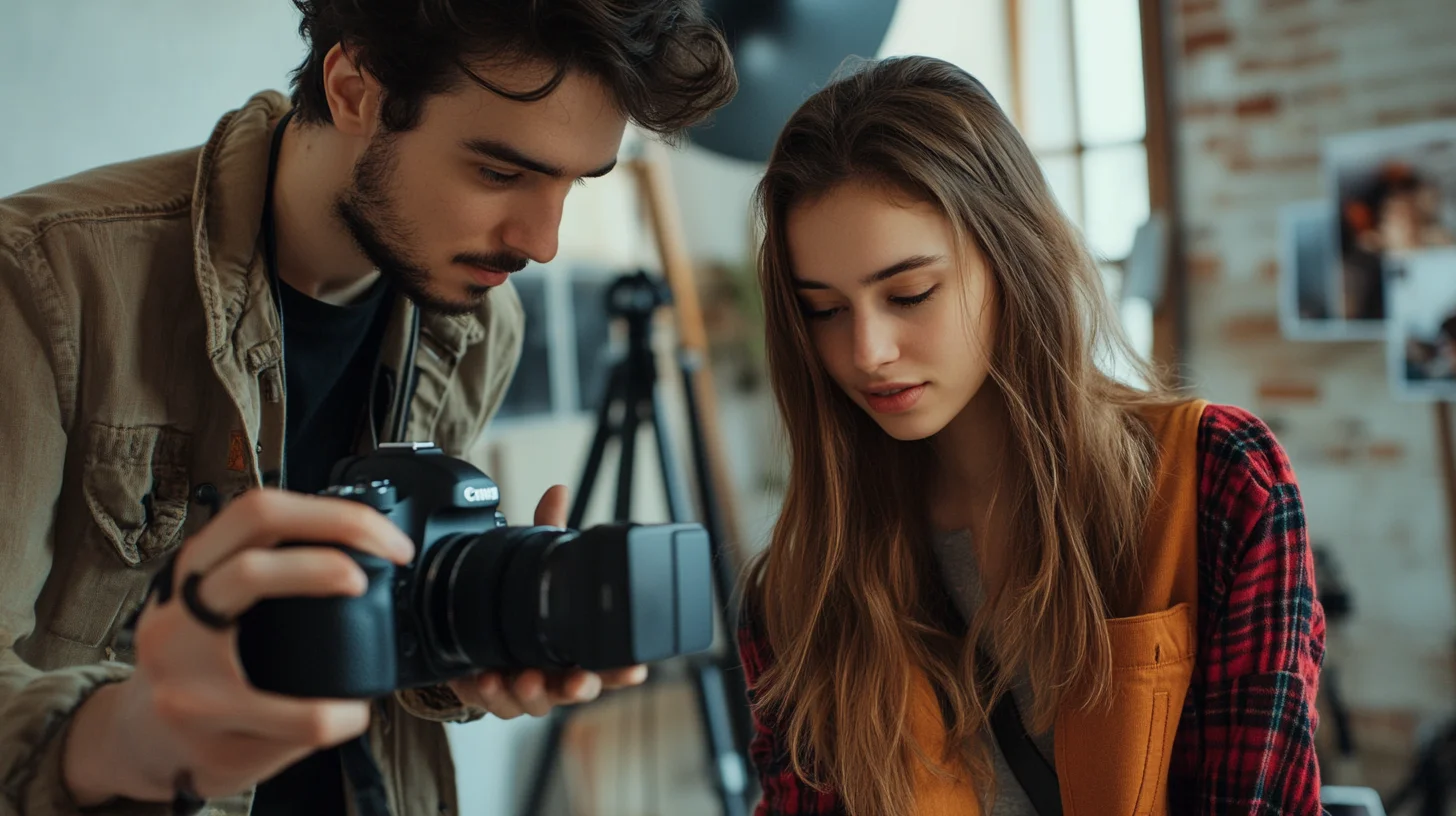
Focus on Interaction, Not the Camera
For family and group beach sessions, the most consistently natural-looking photos come when subjects are interacting with each other rather than with the camera. A mom looking at her daughter laughing looks a thousand times more authentic than mom looking at the lens. A couple leaning in to talk privately for a moment produces genuine intimacy that no posed setup can recreate.
I regularly direct clients during family photo sessions by giving them conversational prompts rather than pose directions: "Tell each other something you've been meaning to say all week." "Parents, whisper something only your kid knows." "Couples, touch foreheads and close your eyes." These directions generate authentic reactions — laughter, tenderness, surprise — that photograph beautifully.
Practicing at Home Actually Works
Spend five minutes in front of a bathroom mirror before your session. Practice the chin-forward-and-down technique. Try a few different expressions — soft smile, full smile, no smile. Notice how slight tilts of your head change how your features photograph. This isn't vanity; it's preparation.
Many people are surprised to discover they have a "better side" — not because one side of their face is actually better, but because they're more comfortable holding a slight angle to one side. Figuring that out before your session means you arrive knowing something useful about how you photograph, which reduces anxiety and speeds up the warm-up period at the start of the shoot.
What to Wear for Natural-Looking Beach Photos
Wardrobe affects posture and movement more than most people realize. Uncomfortable clothes — tight waistbands, shoes that sink in the sand, a dress that blows up too easily in the wind — create self-consciousness that translates to stiffness in photos.
For South Shore beach sessions, I recommend:
- Bare feet or flat sandals rather than heels
- Lightweight, flowing fabrics that move in the breeze rather than fighting it
- Coordinated rather than matching family outfits — earth tones, whites, and soft blues photograph beautifully against sand and water
- Layers that can be added or removed as the session progresses
Avoid very busy patterns, bright neons, and anything with large logos. These pull the eye away from faces and create visual noise in the frame.
Ready to Book Your Session?
A great beach session on the South Shore starts with a photographer who knows the locations, the light, and how to help you feel relaxed in front of the camera. Whether you want portraits on Duxbury Beach, Scituate's Humarock, or Hull's Nantasket, Photography Shark Studios has shot them all.
Get in touch to book your beach session and we'll figure out the right location, timing, and approach to get you photos that actually look like you.
Frequently Asked Questions
Where does Photography Shark shoot beach portrait sessions on the South Shore?
Chris McCarthy regularly shoots at Nantasket Beach in Hull, Minot Beach in Scituate, Humarock Beach, and Duxbury Beach. Location is chosen based on the look you want and the time of year.
What time of day works best for a beach portrait session?
Chris schedules beach sessions to begin 90 minutes before sunset. On the South Shore in July that's around 6:30 PM — golden hour light is warm, directional, and flattering on every skin tone.
How much does a beach portrait session cost?
Family beach sessions start at $395 for a 30-minute session with 10 edited images. Senior portrait beach Packages start at $395. Headshot Studio sessions start at $395 for a 30-minute session with 10 images.
I'm not a model — will I know how to pose?
Chris directs every session, giving you movement-based prompts rather than rigid poses. Walking, turning, reacting to a wave — these produce natural expressions that no amount of 'hold still' coaching can match.
How far in advance should I book a summer beach session?
Book at least 3–4 months ahead for July and August dates. Contact Photography Shark at 83 E Water Street, Rockland MA to check availability.
How long until I receive my photos after the session?
Edited galleries are typically delivered within 1–2 weeks of your session date.
Related Posts
Photography Tips
Scituate Senior Portraits at the Beach
Photography Tips
The Model's Bill of Rights: Safety Standards Every Ethical Photographer Should Follow

Photography Tips
Free Model Release Form Template (Plus How to Read One Before You Sign)

Photography Tips
The Model Safety Checklist: 25 Things to Do Before, During & After a Shoot
Actor Headshots
Actor Headshots and Your Resume: Sizing, Formatting, and What Casting Expects

Photography Tips
Bad Headshots: 12 Things That Make a Headshot Look Unprofessional (and How to Fix Them)
You Might Also Like
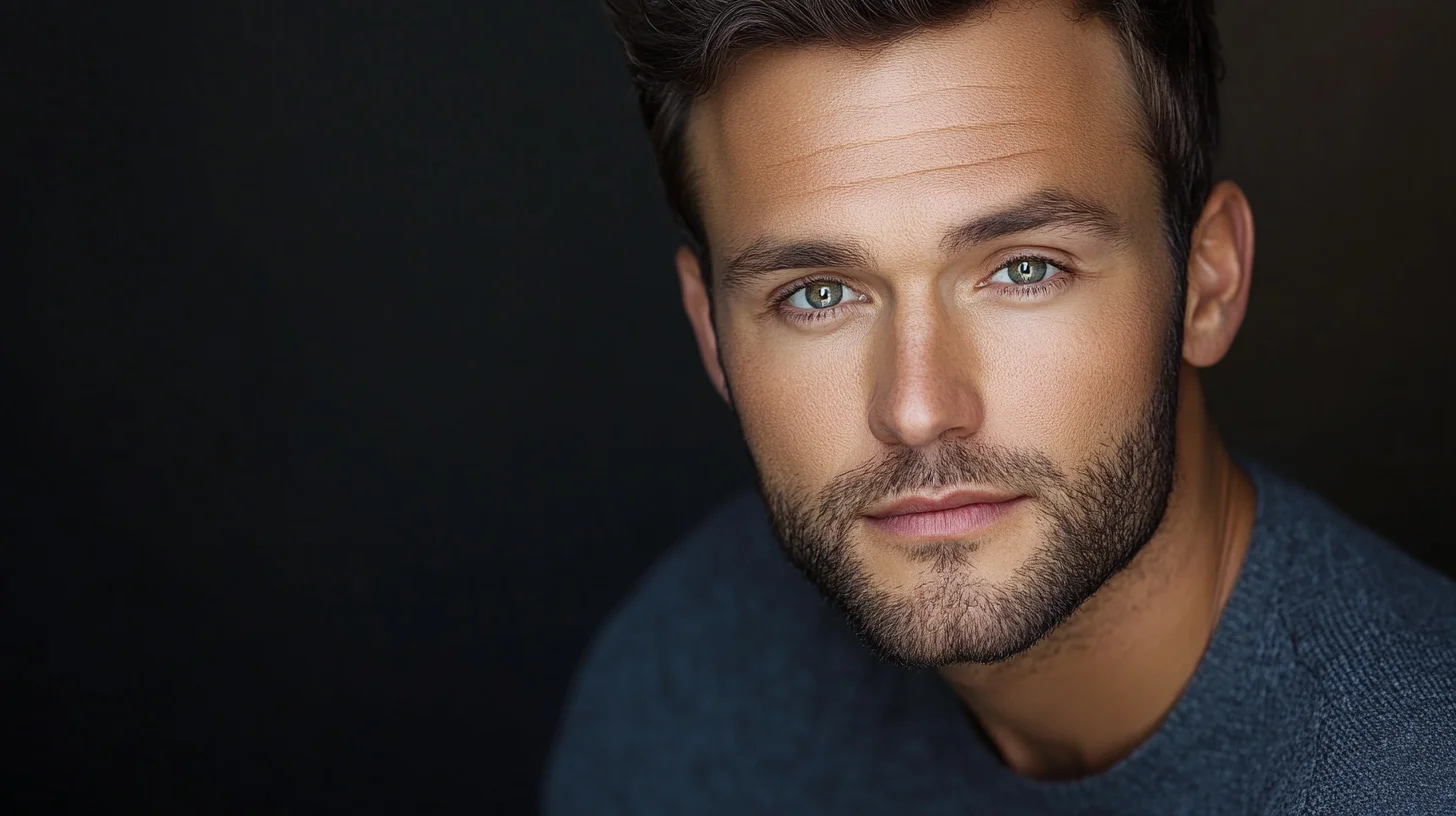
About the Author
Chris McCarthy
Chris McCarthy has run Photography Shark Studios in Rockland, MA for over 10 years and 500+ sessions, with executive headshot work for Rockland Trust, Clean Harbors, M&T Bank, and McCarthy Planning; founder portraits for AI startups including Lowtouch.ai; product photography for South Shore brands like Lauren's Swim; and headshots across South Shore legal, medical, financial, and academic practices. Every session is personally shot and edited by Chris on Sony mirrorless and Godox strobe systems — no assistants, no outsourcing, no batch retouching. Galleries deliver in 3–5 business days. About Chris McCarthy →
Photography Shark · Boston & South Shore MA
Ready to Book a Session?
Professional headshots, senior portraits, boudoir, and model portfolios. Studio in Rockland, MA — 25 miles south of Boston. Sessions from $395.