Photography Tips
Inverse Square Law in Photography: How Light Falls Off
How the inverse square law shapes studio lighting at Photography Shark's Rockland MA studio — light falloff, softbox distance, and background separation.
Chris McCarthy
Professional Photographer, Photography Shark · August 25, 2025 · Updated January 18, 2026
There's a moment in every serious photographer's development when light stops being something that just happens in front of the camera and starts being something you consciously shape. That shift — from passive to active relationship with light — is one of the most significant leaps in photographic growth, and understanding the inverse square law is central to making it.
I have worked through this question with clients at my Rockland studio more times than I can count, and the answer is more straightforward than most people expect.
The inverse square law isn't complicated as physics goes, but its practical implications run deep. It explains why moving a light source closer to a subject dramatically changes the quality of the light, not just the brightness. It explains why a large softbox positioned near your subject is fundamentally different from a small speedlight across the room, even when both are set to produce the same exposure. It explains some of the most characteristic behaviors of studio lighting, outdoor natural light, and reflector work — and once you understand it, you start seeing every lighting situation differently.
At Photography Shark, photographer Chris McCarthy applies this in every studio session at the Rockland, MA studio, whether the work is professional headshots, boudoir photography, or studio portrait work. Understanding it at a practical level is part of what separates consistent professional results from hit-or-miss outcomes.
The Principle Itself
The inverse square law states that the intensity of light is inversely proportional to the square of the distance from the source. In mathematical terms: if you double the distance between a light source and a subject, the light intensity falls to one-quarter — not one-half — of its original value.
This is counterintuitive to most people. You'd expect doubling the distance to halve the brightness. But because light spreads in three dimensions as it travels, the illuminated area grows exponentially with distance. At twice the distance, light covers four times the area — so the same amount of light is spread over four times the surface, reducing intensity to one-quarter.
Work through a simple example to make this concrete. If a monolight positioned 2 feet from your subject produces an exposure reading of f/8, moving that light to 4 feet produces an exposure of f/4 — two stops less light, not one. Move it to 8 feet and you're at f/2, another two stops less.
This falloff rate is the key. It governs not just exposure but the relationship between the light falling on your subject and the light falling on the background behind them.
Why This Changes How You Think About Light Quality
Here's where the inverse square law gets interesting beyond simple exposure calculations.
The "softness" of a light source — meaning how gradually it transitions from highlight to shadow — is determined by the apparent size of the light source relative to the subject. A large light source close to the subject is "soft." A small light source far from the subject is "hard." These aren't just aesthetic preferences — they produce fundamentally different images.
The inverse square law tells you that moving a light source closer to the subject increases its apparent size relative to the subject, which makes it softer. Moving it further away reduces its apparent size, making it harder. And because of the exponential math involved, small changes in distance produce large changes in quality.
Consider a 36-inch octabox — a large softbox — positioned 3 feet from a portrait subject. That light is enormous relative to the subject, wrapping around the face and creating smooth shadow gradients. Now move that same octabox to 12 feet away. The apparent size has shrunk dramatically. The light hasn't changed physically, but from the subject's perspective it now functions almost like a point source — harder, more directional, with faster shadow falloff.
This is why photographers say "get your lights closer." They're not just increasing brightness — they're improving quality.
Practical Applications in Portrait Photography
The Background Falloff Effect
One of the most powerful applications of the inverse square law in portrait photography is controlling how much light falls on the background relative to the subject. This is where the exponential falloff becomes a tool rather than just a limitation.
If your subject is 3 feet from a light source, and the background is 9 feet from the same light source, the light falling on the background is not three times weaker — it's nine times weaker (three squared). This means that a relatively simple lighting change — positioning a subject close to a light source and positioning the background further away — can create a dramatically darker background without any additional lights or modifiers.
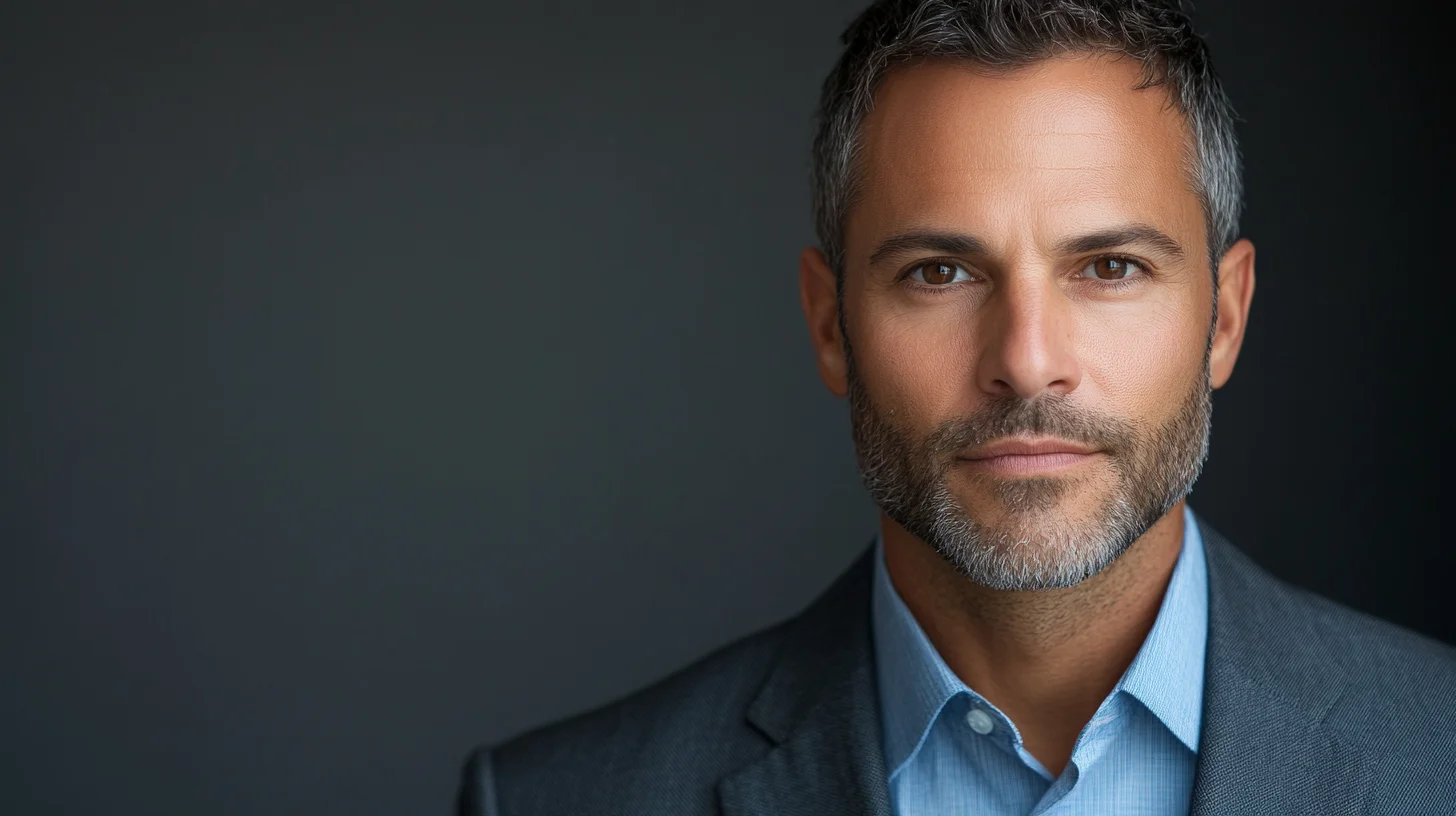
For headshots and portrait work, this is how we create subject-background separation in studio work. A single well-positioned key light close to the subject can render the background two to three stops darker than the subject, producing the kind of professional subject isolation that looks like it required complex multi-light setups.
For family photos where we want to separate the family from a busy background, the same principle applies even in outdoor settings with a portable strobe: position the light close to the family and the background separation takes care of itself.
Controlling Contrast in Studio Lighting
The ratio between your key light and fill light in a studio portrait setup determines the contrast — the depth of shadows on the face. The inverse square law is what makes this ratio manipulation precise.
If you have a key light and a fill light at the same distance, and both at the same power setting, you have a 1:1 ratio — essentially no shadows, very flat and even lighting. Now move the fill light twice as far back. Because of the inverse square law, the fill is now delivering one-quarter the intensity of the key. You've achieved a 4:1 ratio — fairly dramatic, with shadows that read as clearly three-dimensional.
Understanding this helps you achieve target ratios through positioning rather than always relying on power adjustments. This is particularly useful when working with continuous lights or reflectors that don't have adjustable power — you control the fill intensity purely by where you place it.
Group Photography Challenges
Group photography is where photographers most frequently run into problems caused by the inverse square law — and where understanding it most directly solves those problems.
If you have a group of people arranged in depth — some in the front row, some in the back row — and your light is close to the group, the inverse square law creates a significant intensity difference between front and back. The people in the front row might receive four times as much light as the people in the back row, which produces an unevenly lit group with blown highlights in front and underexposed faces in back.
The solution is to move the light farther back. At greater distance, the relative difference between front and back becomes proportionally smaller. If the light is 15 feet from the front row and 18 feet from the back row, the ratio is much more manageable than if the light is 3 feet from the front row and 6 feet from the back row.
The trade-off is that moving the light farther away reduces its apparent size, making it harder. You compensate by using a larger light source or more diffusion — a large umbrella, a very large softbox — to maintain acceptable quality at the greater working distance.
Outdoor Photography and Reflectors
The inverse square law applies equally to natural light, even though you can't move the sun. What you can control in outdoor natural-light photography is how you use reflectors, diffusers, and supplemental flash — and the inverse square law governs those precisely.
When using a reflector to fill shadows on a subject outdoors, the distance between the reflector and the subject determines both the intensity of the fill and its quality. A large reflector positioned close to the subject produces bright, soft fill. The same reflector at double the distance delivers one-quarter the fill intensity and appears smaller relative to the subject, making it harder.
For outdoor class-of-yearbook senior sessions or location family work, we use reflectors and portable strobes to shape the natural light. Knowing the inverse square law means knowing exactly where to position these modifiers to achieve the balance between ambient light and fill that produces the dimensional, flattering look that makes professional outdoor portraits look different from casual snapshots.
Working With the Law Rather Than Against It
When You Want Fast Falloff
Fast falloff — the light dropping off rapidly as it moves away from the subject — is something you want to encourage when you're trying to create dramatic subject-background separation or a vignette effect where the edges of the frame are darker than the center.
To maximize falloff: position your light close to the subject, and make sure the background is as far from the subject as possible. If your studio or shooting environment is small and the background is fixed, moving your subject forward (toward the camera) creates more distance between subject and background.
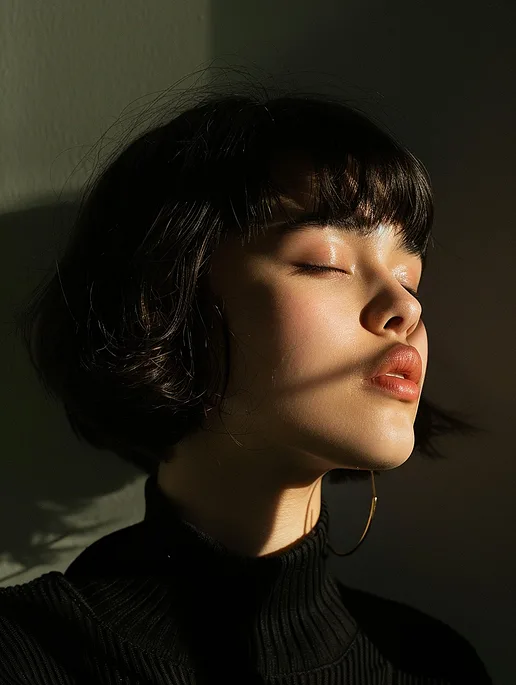
This approach is common in dramatic commercial portraiture, in boudoir photography where a moody, intimate atmosphere is the goal, and in certain actor headshot styles where a dark background creates focus and intensity.
When You Want Even, Consistent Light
Soft, even light with slow falloff is the goal when you want consistent illumination across the entire scene — group photos, product photography, or certain commercial work.
To minimize falloff: move your light source further from the subject and compensate for the reduced intensity by increasing power or using multiple sources. The greater the distance, the more gradual the transition across different depths in the scene.
This is why large-scale commercial photography that needs to light an entire room consistently uses multiple high-powered lights positioned far from the scene, rather than one powerful light positioned close.
Metering Across Multiple Subjects
In any session where subjects are at different distances from the light source, the inverse square law means exposure will vary across them. Metering with an incident light meter at the position of each subject is the professional approach to confirming consistent exposure.
In portrait work, we often place a card or marker at the subject position and meter there before the subject arrives — confirming that the exposure is correct at that precise location. If the subject moves significantly forward or back, the exposure changes, and we adjust accordingly. This is one reason why directing subjects to maintain their position is a practical lighting concern, not just a compositional one.
Common Mistakes and How to Avoid Them
Assuming twice the distance means half the light. It means one-quarter the light. Always use the square in your calculations: 2x distance = 1/4 power. 3x distance = 1/9 power. Write this down until it becomes automatic.
Placing lights based on convenience rather than physics. A light that's positioned where it happens to fit in the studio is often not positioned where the inverse square law would place it for the intended effect. Think about what you want the falloff relationship to be and place the light accordingly.
Not accounting for light size changes when adjusting distance. Moving a light changes both its intensity and its quality. If you move a softbox further back to reduce intensity (perhaps to balance against a fill), you've also made it harder. Compensate by using a larger modifier or accepting that the quality change is part of the adjustment.
Ignoring the law for fill lights. Most photographers apply inverse square thinking to their key light and ignore the fill. But the fill is equally governed by the same physics — moving it changes both its fill power and its quality. Intentional fill placement, informed by the inverse square law, produces more consistent and controllable lighting ratios.
Building Intuition Through Experimentation
Reading about the inverse square law is useful. Actually experiencing it produces the kind of intuitive understanding that shows up in your work automatically.
A useful exercise: in a darkened studio or room, set up a single light at a fixed power setting. Position a subject 2 feet from the light and meter the exposure. Move them to 4 feet and meter again. Move to 8 feet. Note not just the exposure changes but the quality changes — the shadow gradients, the background falloff, the apparent size of the highlights on the face. Photograph each position. Review the images side by side.
This exercise, repeated a few times with different starting distances and different light sources, builds a physical memory of how the law behaves that theoretical understanding alone cannot provide.
The Inverse Square Law in Every Session at Photography Shark
Every lighting decision in our Rockland studio is implicitly an inverse square law decision: how far the key light sits from the subject, where the fill reflector is positioned, how much distance there is between the subject and the background, where we position an accent or hair light. These are not arbitrary choices — they're calculated to produce specific results.
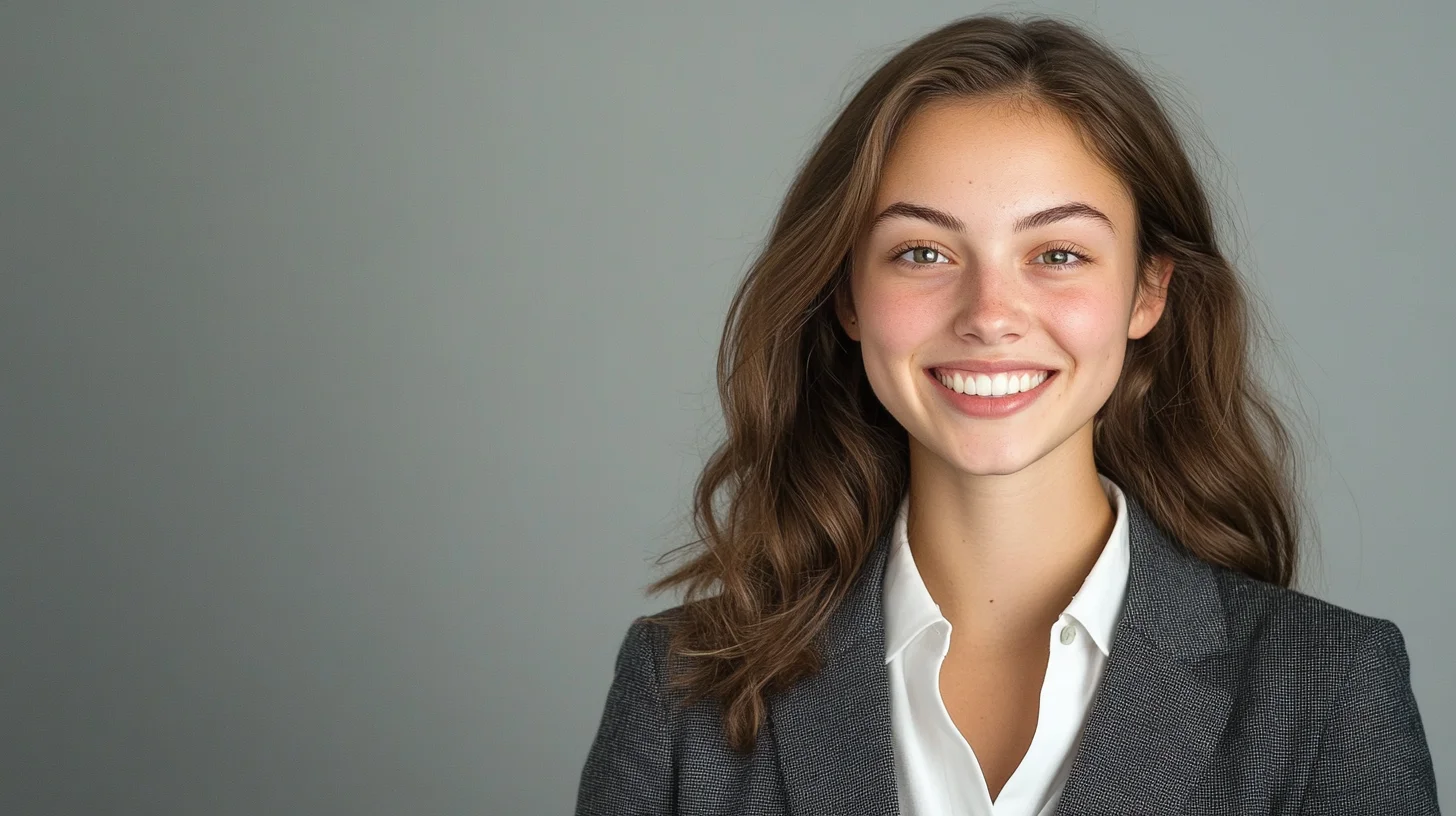
For clients who book studio portrait sessions or headshot work with us, the visible result is clean, professional lighting that separates the subject from the background, creates appropriate depth and dimension in the face, and maintains consistency across a session. The inverse square law is the physics behind that result.
Ready to Book Your Session?
If you're looking for professionally lit studio portraits, headshots, boudoir work, or any other photography service in the South Shore and Greater Boston area, Photography Shark delivers results built on the technical understanding that separates professional photography from enthusiast work.
Our studio is at 83 E Water Street in Rockland, MA. We serve clients from Quincy and Braintree down through Hingham, Scituate, Hanover, Norwell, Duxbury, Marshfield, Plymouth, and all surrounding South Shore communities.
Contact us at our booking page to schedule a consultation or book your session directly.
What headshots cost in Boston · Rockland, MA headshot studio
Frequently Asked Questions
How does Photography Shark use the inverse square law in studio sessions?
Chris applies the inverse square law at the Rockland studio to control the light-to-background ratio in every session. Moving a softbox closer to the subject increases falloff — darkening the background — and creates softer, more dimensional light on the face.
What studio lighting setup does Photography Shark use for headshots?
The studio at 83 E Water Street, Rockland MA uses softboxes and monolights. The exact setup varies by session goal — a closer, larger light source for soft beauty-style headshots; a smaller or more distant source for more dramatic character portraits.
Why does background brightness change when the light moves closer to the subject?
The inverse square law causes light to fall off rapidly with distance. Positioning the main light close to the subject means the light reaching the background (further away) is significantly less intense, automatically darkening it — a key tool in Photography Shark's studio lighting approach.
What types of studio photography does Photography Shark offer?
Photography Shark offers studio headshots, studio portrait sessions, and boudoir photography at 83 E Water Street, Rockland MA. Studio shoot pricing and packages are available on the website or by contacting Chris directly.
Does studio lighting differ for boudoir versus headshot sessions?
Yes. Boudoir sessions typically use softer, lower-contrast lighting with more attention to shadow gradients and skin texture. Headshots often use more directional light for facial definition. Both rely on inverse square law principles to control mood and background separation.
How far in advance should I book a studio session at Photography Shark?
One to two weeks advance booking is typical. Boudoir sessions benefit from additional lead time for pre-session consultation. Headshot packages start at $395 — contact Photography Shark at photographyshark.com to check availability.
Related Posts
Photography Tips
The Model's Bill of Rights: Safety Standards Every Ethical Photographer Should Follow

Photography Tips
Free Model Release Form Template (Plus How to Read One Before You Sign)

Photography Tips
The Model Safety Checklist: 25 Things to Do Before, During & After a Shoot
Photography Tips
Bad Headshots: 12 Things That Make a Headshot Look Unprofessional (and How to Fix Them)
Photography Tips
The Boston Student's Guide to Job & Internship Headshots

Photography Tips
Model Digitals and Agency Polaroids: What They Are and How to Shoot Them
About the Author
Chris McCarthy
Chris McCarthy has run Photography Shark Studios in Rockland, MA for over 10 years and 500+ sessions, with executive headshot work for Rockland Trust, Clean Harbors, M&T Bank, and McCarthy Planning; founder portraits for AI startups including Lowtouch.ai; product photography for South Shore brands like Lauren's Swim; and headshots across South Shore legal, medical, financial, and academic practices. Every session is personally shot and edited by Chris on Sony mirrorless and Godox strobe systems — no assistants, no outsourcing, no batch retouching. Galleries deliver in 3–5 business days. About Chris McCarthy →
Photography Shark · Boston & South Shore MA
Ready to Book a Session?
Professional headshots, senior portraits, boudoir, and model portfolios. Studio in Rockland, MA — 25 miles south of Boston. Sessions from $395.