Photography Tips
Mastering Your Camera Settings: A Beginner's Guide
Beginner's guide to aperture, shutter speed, and ISO from Photography Shark in Rockland MA — exposure triangle settings for portrait and studio sessions.
Chris McCarthy
Professional Photographer, Photography Shark · October 13, 2025 · Updated December 16, 2025
Every great photograph starts before the shutter fires. It starts with understanding the tools in your hands — the camera settings that transform a mediocre snapshot into a compelling image. Whether you are picking up a camera for the first time or trying to break out of auto mode, mastering your settings is the foundation of everything else. At Photography Shark, photographer Chris McCarthy works with clients across Boston and the South Shore every week, and the most common thing he hears after a session is: "I had no idea light worked like that." This guide is designed to change that.
The Exposure Triangle: Aperture, Shutter Speed, and ISO
These three controls work together to determine how much light reaches your camera's sensor and how the final image is rendered. Change one, and you affect the others. Understanding how they interact is the single most important skill you can develop as a photographer.
Aperture: Control Depth of Field
Aperture refers to the size of the opening in your lens through which light passes. It is measured in f-stops — and here is where beginners often get confused: a lower f-stop number means a wider opening, which lets in more light. A higher number means a smaller opening.
Why does this matter beyond exposure? Aperture controls depth of field — how much of your image is in sharp focus versus blurred.
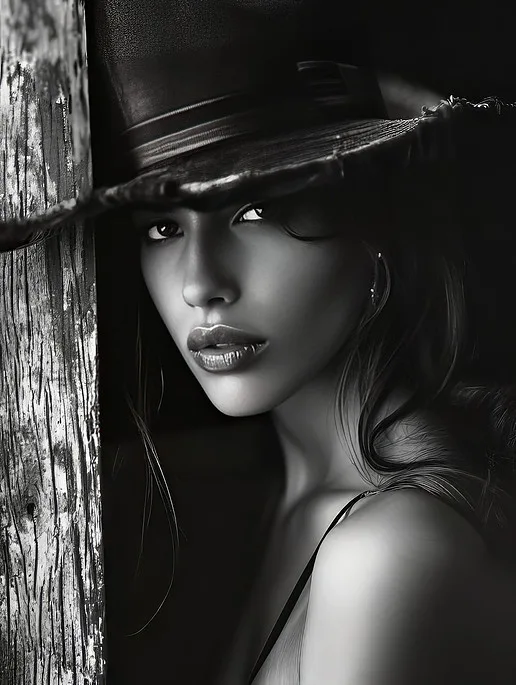
- f/1.8 to f/2.8: Wide aperture, shallow depth of field. The subject is sharp but the background melts into beautiful blur (bokeh). This is the setting for environmental portraits, headshots, and close-up shots where you want to isolate your subject.
- f/5.6 to f/8: Mid-range aperture. More of the scene is in focus. Excellent for small groups, street photography, or when you want both a person and their surroundings sharp.
- f/11 to f/16: Narrow aperture, deep depth of field. Nearly everything from foreground to background will be in focus. Landscape photographers live here.
When shooting portraits on the South Shore — say, at Scituate Harbor or along the Cohasset cliffs — I typically open up to f/2.8 or f/4 to keep the subject sharp while letting the ocean backdrop go soft and dreamy. That separation between subject and scene is what makes a portrait feel professional rather than like a holiday snapshot.
Shutter Speed: Freeze or Blur Motion
Shutter speed controls how long your camera's sensor is exposed to light. It is expressed in fractions of a second (1/500s, 1/60s) or full seconds (1s, 2s).
- Fast shutter speeds (1/500s and above): Freeze motion cleanly. Essential for sports, children running on the beach, or a dog mid-leap at Duxbury Beach. At 1/1000s you can freeze a crashing wave.
- Moderate shutter speeds (1/60s to 1/250s): Good for stationary subjects and most portrait work. At 1/125s most people can hold still without motion blur.
- Slow shutter speeds (below 1/60s): Intentional blur, silky water effects, light trails. You will need a tripod. Shooting at 1/4s at sunset over Plymouth Harbor can render the incoming tide as a smooth, foggy layer rather than individual waves.
The rule of thumb for handheld shooting is to keep your shutter speed at or above 1/focal length. Shooting at 85mm? Stay at 1/100s or faster to avoid camera shake.
ISO: Sensitivity to Light
ISO measures how sensitive your camera sensor is to light. Lower values (ISO 100, 200) produce cleaner images with less noise. Higher values (ISO 1600, 6400) allow you to shoot in dim conditions but introduce grain.
- ISO 100–400: Ideal for outdoor shoots in daylight. Maximum image quality, minimum noise.
- ISO 400–1600: Indoor natural light, overcast days, golden hour. Still acceptable quality on most modern cameras.
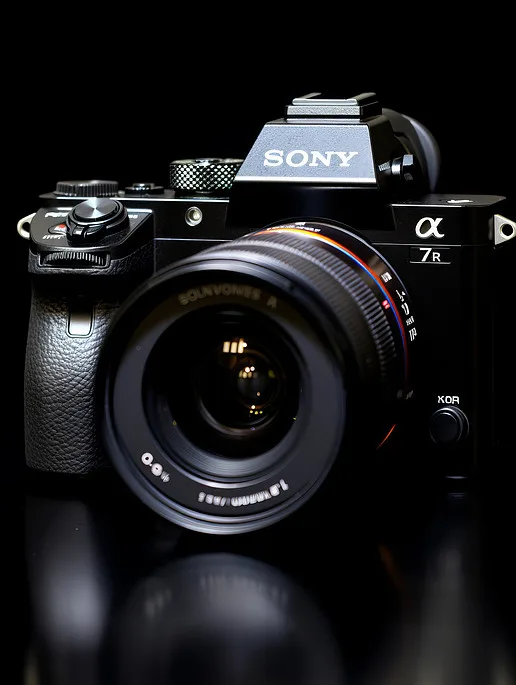
- ISO 3200+: Low-light event photography, indoor venues without flash. Expect some noise, but modern sensors — including the Sony cameras I shoot on — handle high ISO remarkably well.
The goal is always to use the lowest ISO that gives you a correct exposure without sacrificing shutter speed or depth of field. Shoot in the flat, soft light of an overcast Massachusetts morning and you can stay at ISO 200 all day.
Metering: Teaching Your Camera to Read Light
Your camera does not see the world the way your eyes do. It measures light and makes a mathematical guess about what the correct exposure should be. Understanding metering modes helps you control that guess.
Evaluative (Matrix) Metering
The camera analyzes the entire frame and averages the light values across multiple zones. This is the default mode and works well in most situations — a couple on the beach at Nantasket, a family session in Milton's Blue Hills. When the light is relatively even, evaluative metering does a fine job.
Spot Metering
The camera reads only the small area around your chosen focus point — typically about 2–5% of the frame. This is invaluable when your subject is backlit, such as a senior portrait session at golden hour with the sun behind them. Spot meter on the face and the camera exposes correctly for the person, letting the bright background blow out artistically.
Center-Weighted Metering
A middle ground — the camera emphasizes the center of the frame. Reliable for traditional portrait compositions where the subject fills the center.
White Balance: Getting Color Right in Camera
White balance corrects for the color temperature of your light source. Different light sources emit light of different "warmth." Sunlight at noon is blue and cool. Golden-hour sunlight is warm and amber. Fluorescent office lighting has a greenish cast.
Setting white balance correctly in camera means spending less time correcting color in post-processing:
- Daylight (5200K): Direct sunlight, midday.
- Cloudy (6000K): Overcast skies, open shade. Adds warmth.
- Shade (7000K): Heavy shadow, strong blue cast without correction.
- Tungsten (3200K): Incandescent bulbs. Use this in warmly lit indoor spaces to neutralize the orange cast.
- Custom/Kelvin: Dial in a specific color temperature. Many working photographers prefer this for consistency across a session.
If you shoot RAW (which I'll address in a moment), white balance can be corrected non-destructively in post. But getting it right in camera develops your eye for color and makes your workflow faster.
Focus Modes: Keeping Subjects Sharp
Modern autofocus systems are impressive, but they still need direction.
Single-Shot AF (AF-S / One-Shot)
The camera locks focus when you half-press the shutter. It will not refocus until you release and press again. Best for stationary subjects — a posed headshot, a still-life product shot, a landscape.
Continuous AF (AF-C / AI Servo)
The camera continuously tracks and adjusts focus as the subject moves. Essential for any session involving motion — kids at a birthday party, athletes, dogs. If you are shooting a senior portrait session and your subject is walking toward you, continuous AF keeps them sharp frame after frame.
Eye-Detection AF
Sony's Eye AF (available on my Sony mirrorless bodies) automatically identifies and locks onto the nearest eye in the frame. It is transformative for portrait work. Even as your subject moves, laughs, or turns their head, the camera hunts for and locks onto the eye. This is how I consistently deliver sharp portraits even at wide apertures like f/1.8.
RAW vs. JPEG: Which Format Should You Shoot?
This is one of the most common questions from photographers getting serious about their craft.
JPEG: The camera processes the image internally — applying sharpening, noise reduction, and contrast — then compresses it. Files are small and immediately shareable. If you need quick turnaround and your exposure is reliably accurate, JPEG works fine.
RAW: The sensor's unprocessed data is saved in full. No in-camera processing is applied. Files are much larger (often 5–10x the size of JPEG), but you retain complete control in post. Adjust exposure by several stops, recover blown highlights, shift white balance, fine-tune color grading — all without degrading image quality.
For portrait work — especially Boston headshot sessions or senior session details where clients will use images professionally — I always shoot RAW. The latitude in editing means I can deliver a polished, consistent result regardless of minor exposure variations during the session.
Shooting Modes: Understanding Your Options
- Auto: The camera controls everything. Useful for quick snapshots, but you surrender creative control.
- Program (P): The camera sets aperture and shutter speed; you control ISO and white balance.
- Aperture Priority (Av/A): You set the aperture; the camera chooses shutter speed for correct exposure. Ideal for portrait work where depth of field is your primary concern.
- Shutter Priority (Tv/S): You set shutter speed; the camera chooses aperture. Best for action photography where freezing motion is the priority.
- Manual (M): You control everything. Takes practice but gives complete creative control. Most professional photographers work primarily in Manual or Aperture Priority.
I shoot the majority of my portrait and headshot sessions in Manual, locking in my settings before the client steps in front of the camera. This ensures consistency across every frame of the session rather than letting the camera second-guess its exposure as the subject moves against varying backgrounds.
Practical Shooting Tips for South Shore Locations
Understanding your settings in the abstract is one thing. Applying them in the field is another. Here are scenario-specific approaches for locations we commonly use:
Beaches (Duxbury, Scituate, Nantasket, Humarock): Bright sand reflects enormous amounts of light. Your camera's metering will tend to underexpose your subject's face to compensate for the bright background. Spot meter on the face, or dial in +1 to +1.5 stops of exposure compensation. Shoot in the two hours after sunrise or before sunset — the light is warm, directional, and flattering. Midday sun at the beach is harsh and unflattering.
Wooded Locations (Blue Hills, Wompatuck State Park): Dappled shade creates exposure challenges. Open up your aperture and bump ISO to 400–800. Watch for mixed light — patches of sun and shadow on your subject's face look messy in portraits. Find areas of consistent open shade.
Downtown Settings (Quincy, Hingham, Rockland): Building reflections and glass can fool your meter. Expose for the face. Urban backgrounds with bokeh from a wide aperture create a clean, professional look for corporate headshots.
Building Your Photography Practice
Understanding camera settings is only the first layer. The technical foundation allows the creative decisions — composition, light direction, relationship with your subject — to happen freely. When you are not thinking about where the ISO dial is, you are thinking about how to make your subject feel comfortable, which is where great portraits actually come from.
If you are considering working with a professional photographer rather than continuing to develop your own skills — or if you simply want to see what's possible with Sony glass and a decade of lighting experience — explore the studio photo shoot options at Photography Shark. Our Rockland, MA studio gives you controlled light, professional backgrounds, and guided posing without the unpredictability of outdoor conditions.
For outdoor sessions, we serve clients across the entire South Shore — from Plymouth to Quincy, from Hingham to Hull — and know how to make every location work regardless of the conditions.
Ready to Book Your Session?
If you are ready to step in front of a camera and see what a professional session looks like — whether that is a headshot for LinkedIn, a senior portrait, or a creative studio shoot — we would love to work with you.
Contact Photography Shark today to schedule your session at our Rockland, MA studio or at an outdoor location of your choice on the South Shore.
Workplace portraiture · Studio pricing reference · Headshot photographer · Rockland · Headshot photographer · Scituate · Quincy, MA headshot studio
Frequently Asked Questions
What aperture settings does Photography Shark use for outdoor South Shore portraits?
Chris typically shoots outdoor portraits at f/2.8 to f/4 at locations like Scituate Harbor and the Cohasset cliffs — wide enough to blur the background while keeping the subject sharp, giving images a professional separation from the environment.
Do I need to know anything about camera settings before my Photography Shark session?
No. Chris handles all technical settings. Your job is to show up and feel at ease. Understanding how settings affect your photos can help you appreciate the results, but it is not required to book or participate in a session.
What types of portrait sessions does Photography Shark offer near Rockland MA?
Photography Shark offers headshots from $395, senior portraits from $395, family sessions from $395, boudoir, studio shoots, and events. The studio is at 83 E Water Street, Rockland MA 02370 with outdoor South Shore locations also available.
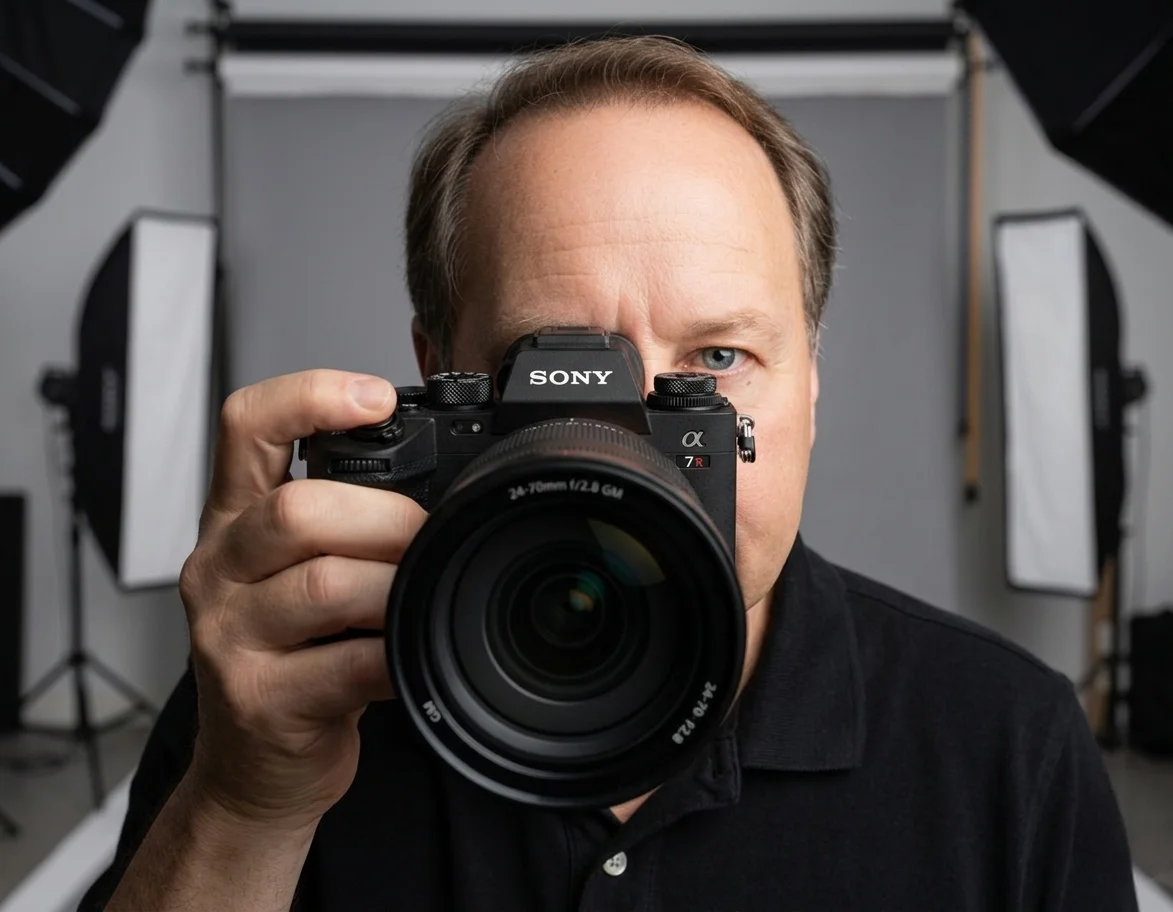
Why does Photography Shark shoot on Sony mirrorless instead of DSLR?
Sony mirrorless offers superior autofocus — especially eye-detection — along with an electronic viewfinder that shows the actual exposure before the shutter fires. This allows Chris to dial in settings precisely for each shot in real time.
How does Photography Shark handle low-light situations at events or indoor sessions?
Chris uses fast lenses, high-performing Sony sensors with clean high-ISO capability, and studio lighting at the Rockland location. For events, the approach is adapted based on venue lighting to minimize noise while maintaining sharpness.
Related Posts
Photography Tips
Why I Stuck With Sony Over Canon Mirrorless
Photography Tips
Unveiling the Art of Visual Storytelling in Photography
Photography Tips
The Art of Framing in Photography
Photography Tips
Black and White Portrait Photography: When and Why
Photography Tips
Mastering Sunrise and Sunset Portrait Photography
Photography Tips
Rembrandt Lighting: A Guide for Portraits
You Might Also Like
About the Author
Chris McCarthy
Chris McCarthy has run Photography Shark Studios in Rockland, MA for over 10 years and 500+ sessions, with executive headshot work for Rockland Trust, Clean Harbors, M&T Bank, and McCarthy Planning; founder portraits for AI startups including Lowtouch.ai; product photography for South Shore brands like Lauren's Swim; and headshots across South Shore legal, medical, financial, and academic practices. Every session is personally shot and edited by Chris on Sony mirrorless and Godox strobe systems — no assistants, no outsourcing, no batch retouching. Galleries deliver in 3–5 business days. More about the photographer →
Photography Shark · Boston & South Shore MA
Ready to Book a Session?
Professional headshots, senior portraits, boudoir, and model portfolios. Studio in Rockland, MA — 25 miles south of Boston. Sessions from $395.