Photography Tips
Bad Headshots: 12 Things That Make a Headshot Look Unprofessional (and How to Fix Them)
The 12 most common reasons a headshot reads as amateur — bad lighting, cluttered backgrounds, wrong crop, phone distortion, over-retouching — and the specific fix for each, from a Boston-area headshot studio.
Chris McCarthy
Professional Photographer, Photography Shark · June 10, 2026
A bad headshot does more damage than no headshot at all. When someone lands on your LinkedIn profile, your company directory, or a speaker bio and the photo looks off, they form a first impression before they read a single word — and it's hard to recover from. After more than a decade and 500-plus sessions at my Rockland studio, I can tell you that the difference between a photo that helps you and one that quietly works against you almost always comes down to a short, repeatable list of mistakes.
I'm Chris McCarthy, the headshot photographer at Photography Shark. This guide is for professionals — LinkedIn profiles, corporate directories, executive bios, sales teams, consultants, anyone whose face represents their work. (If you're an actor, the mistakes are different enough that I wrote a separate breakdown of the headshot mistakes actors should avoid — go there instead, because casting expects something this article doesn't cover.) Here are the twelve things that make a headshot look unprofessional, why each one hurts, and exactly how to fix it.
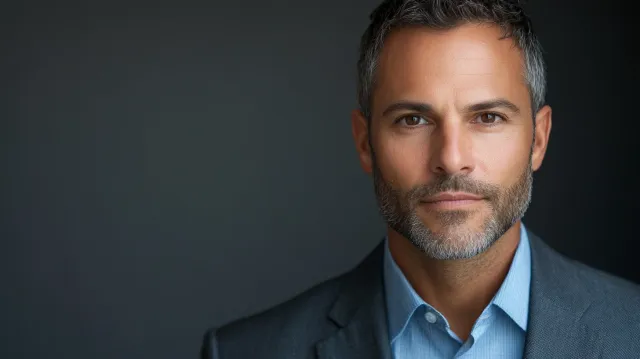
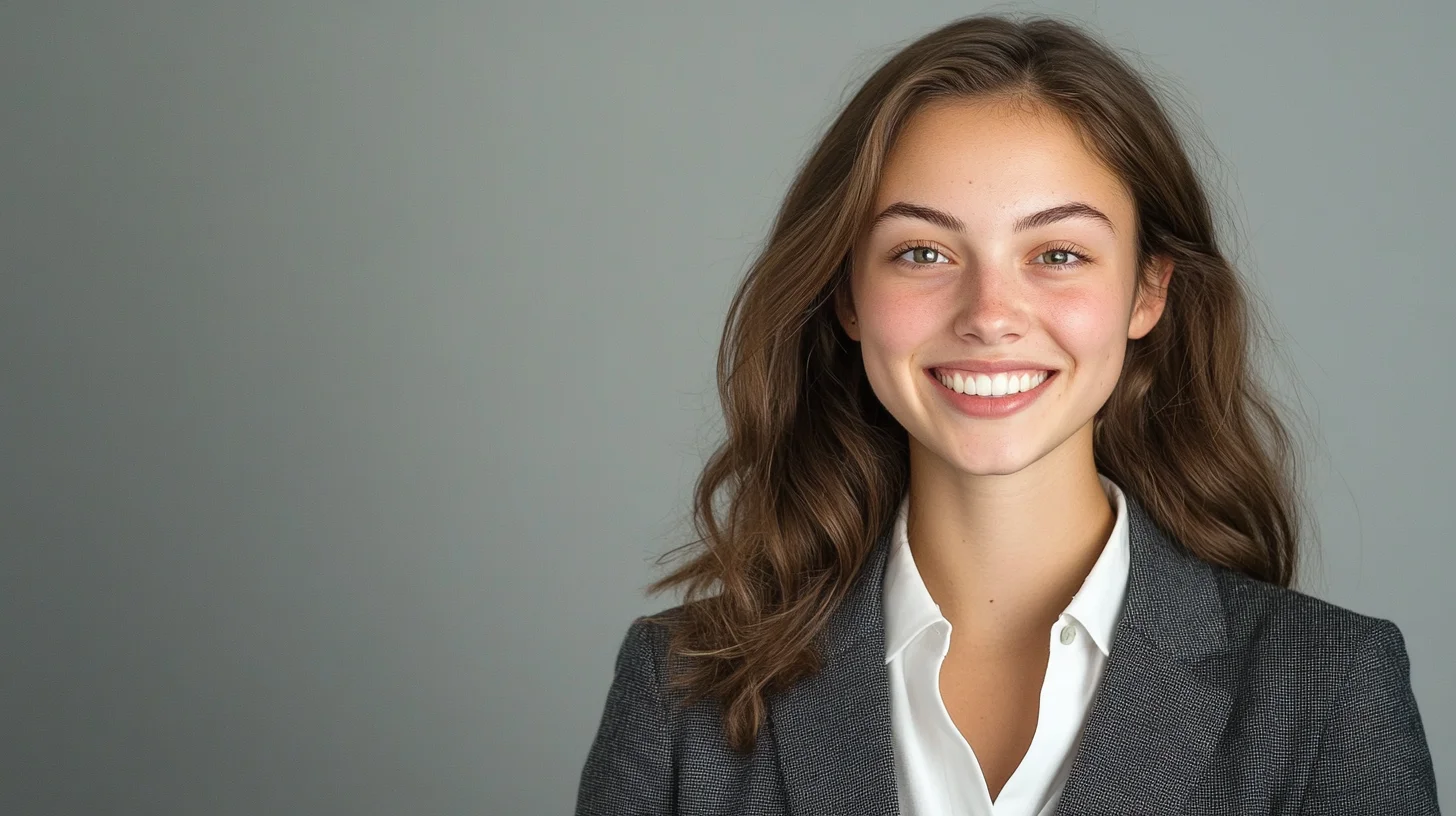
1. Bad Lighting (Overhead, Harsh, or Flash)
Why it hurts: Lighting is the single biggest tell. Overhead office or ceiling light drops shadows straight down — under the brows it creates hollow "raccoon eyes," under the nose and chin it adds harsh lines that age you. A direct on-camera flash does the opposite: it flattens the face completely, blows out skin, and throws a hard shadow onto the wall behind you. Harsh midday sun produces squinting and high-contrast shadows across half the face. All three read instantly as "amateur snapshot."
The fix: You want soft, directional light coming from slightly above eye level and off to one side — enough direction to give the face dimension, soft enough that the shadows have gentle edges. In a studio this means a key light through a softbox, a fill source to lift the shadows, and often a separate light to shape the background. If you're forced to do it yourself, stand a few feet inside a large window so the daylight wraps across your face, and never use the bare phone flash.
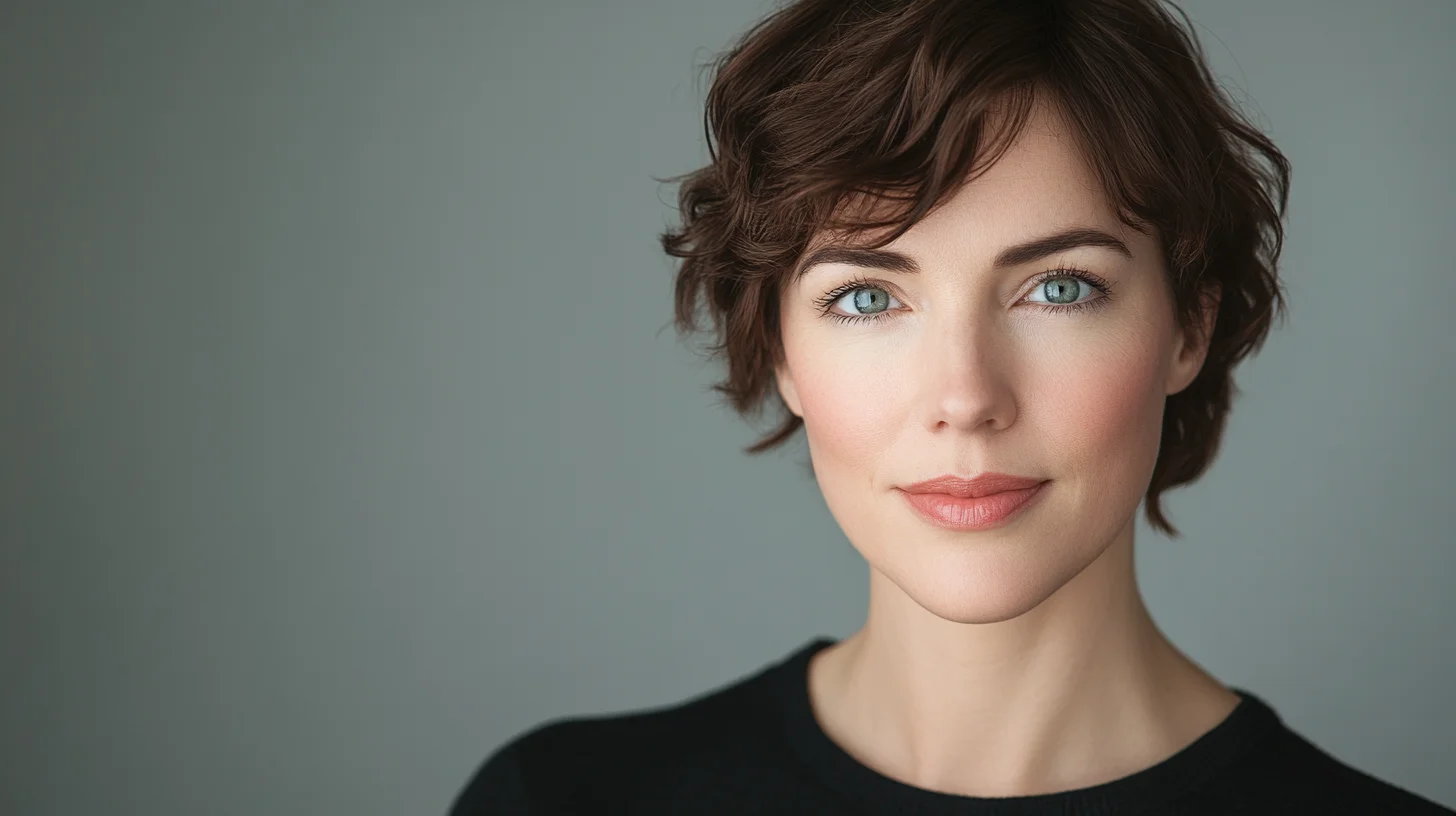
2. Distracting or Cluttered Backgrounds
Why it hurts: The background is supposed to be invisible. The moment a viewer notices a bookshelf, a doorframe, a parked car, a houseplant, or the corner of a kitchen, their attention leaves your face — which is the only thing the photo exists to feature. Cluttered backgrounds also signal that no thought went into the photo, which is exactly the opposite of the "prepared and professional" message you want.
The fix: Use a clean, solid background — white, light gray, medium gray, charcoal, or a controlled office blur. In the studio I light the backdrop independently of the subject so the tone is perfectly even, with no shadow falling on it and no gradient creeping in. If you're shooting at the office, put real distance between yourself and the wall and use a longer lens so the background falls softly out of focus. A clean background is the cheapest, easiest upgrade available, and it's the one DIY shooters skip most often.
3. The Wrong Crop and Framing
Why it hurts: Two crops fail constantly. Too far back, and your head is a tiny shape lost in a sea of torso and background — useless at the thumbnail sizes where headshots actually live. Too tight, and you've chopped the top of the head or cropped into the chin in a way that feels claustrophobic and accidental. Off-center framing with your head jammed into a corner reads as careless.
The fix: A standard professional headshot crops from roughly mid-chest up, with your eyes sitting about one-third of the way down from the top of the frame and a small margin of space above your head. That eye-line placement is not an accident — it's the proportion the human eye reads as balanced and intentional. Keep the crop consistent if the photo is going into a team directory next to colleagues, so everyone matches.
4. An Outdated Photo
Why it hurts: An old headshot creates a credibility gap. When you finally meet someone in person, or hop on a video call, and you look noticeably different from your photo, their first internal reaction is "that's not what I expected" — and trust takes a small hit before the conversation even starts. A decade-old photo, a different hair color, glasses you no longer wear, or significant weight change all break the link between the image and the real you.
The fix: Refresh your headshot every two to three years, and sooner after any visible change. This isn't vanity — it's accuracy. The person in the photo and the person who walks into the meeting should obviously be the same human. If you're in a fast-moving, client-facing field, treat the headshot like any other professional credential you keep current.
5. Selfie and Phone Artifacts (Lens Distortion)
Why it hurts: This is the most common DIY failure, and the hardest to spot for the person who took it. Phone cameras use wide-angle lenses. Held at arm's length for a selfie, that wide angle enlarges whatever's closest to the lens — usually your nose — while shrinking your ears and elongating the face. The result looks subtly "off" to everyone who sees it, even if they can't name why. I covered this distortion in depth in the difference between a professional headshot and a selfie, and it's the number-one reason phone photos never quite pass.
The fix: Get distance and length between the lens and your face. Professionals use an 85mm-or-longer portrait lens held several feet back, which compresses features into flattering proportions. If you're stuck with a phone, hand it to another person, have them stand as far back as the framing allows, zoom slightly, and shoot at eye level. Never shoot a true arm's-length selfie for anything professional.
6. Over-Retouching and Filters
Why it hurts: The pendulum swings both ways. Some bad headshots have no editing; far more have too much. Heavy skin-smoothing strips out pores and natural texture, producing the waxy "porcelain doll" look that screams filter. Over-brightened eyes and teeth, a liquified jawline, and aggressively erased lines all push the image into uncanny territory. Recruiters and clients who see a lot of photos recognize this instantly, and it reads as inauthentic.
The fix: Retouching should be invisible. The job is to even out skin tone, remove temporary blemishes, tame flyaway hairs, and reduce shine — while keeping the pores, the texture, and the features that make you recognizable. The goal is "you on a good day," not "a stranger with your haircut." This is where a professional editor earns their keep: knowing exactly where to stop.
7. Poor Wardrobe Choices
Why it hurts: The wrong clothes pull focus or send the wrong signal. Loud patterns, thin stripes, and tight checks create a shimmering moiré effect at screen resolution. Bright white tops blow out under lighting and steal attention from your face. Ill-fitting jackets with collar gaps or sagging shoulders read as borrowed or careless. Logos, lanyards, and busy graphics date the photo and clutter the frame.
The fix: Solid colors in navy, charcoal, deep teal, burgundy, or medium gray photograph reliably across skin tones and backgrounds. Dress one level above your day-to-day office norm. Prioritize fit over price — a well-fitted layer always beats an expensive one that's a size too big. Bring a lint roller, press your clothes, and remove anything reflective or distracting before you sit down.
8. A Forced or Awkward Expression
Why it hurts: A frozen, unsmiling stare reads as cold or hostile. The opposite — a strained, hold-it-too-long grin — reads as fake, and the eyes give it away because a forced smile never reaches them. Both make a viewer subtly uncomfortable, and discomfort is not the feeling you want attached to your professional image.
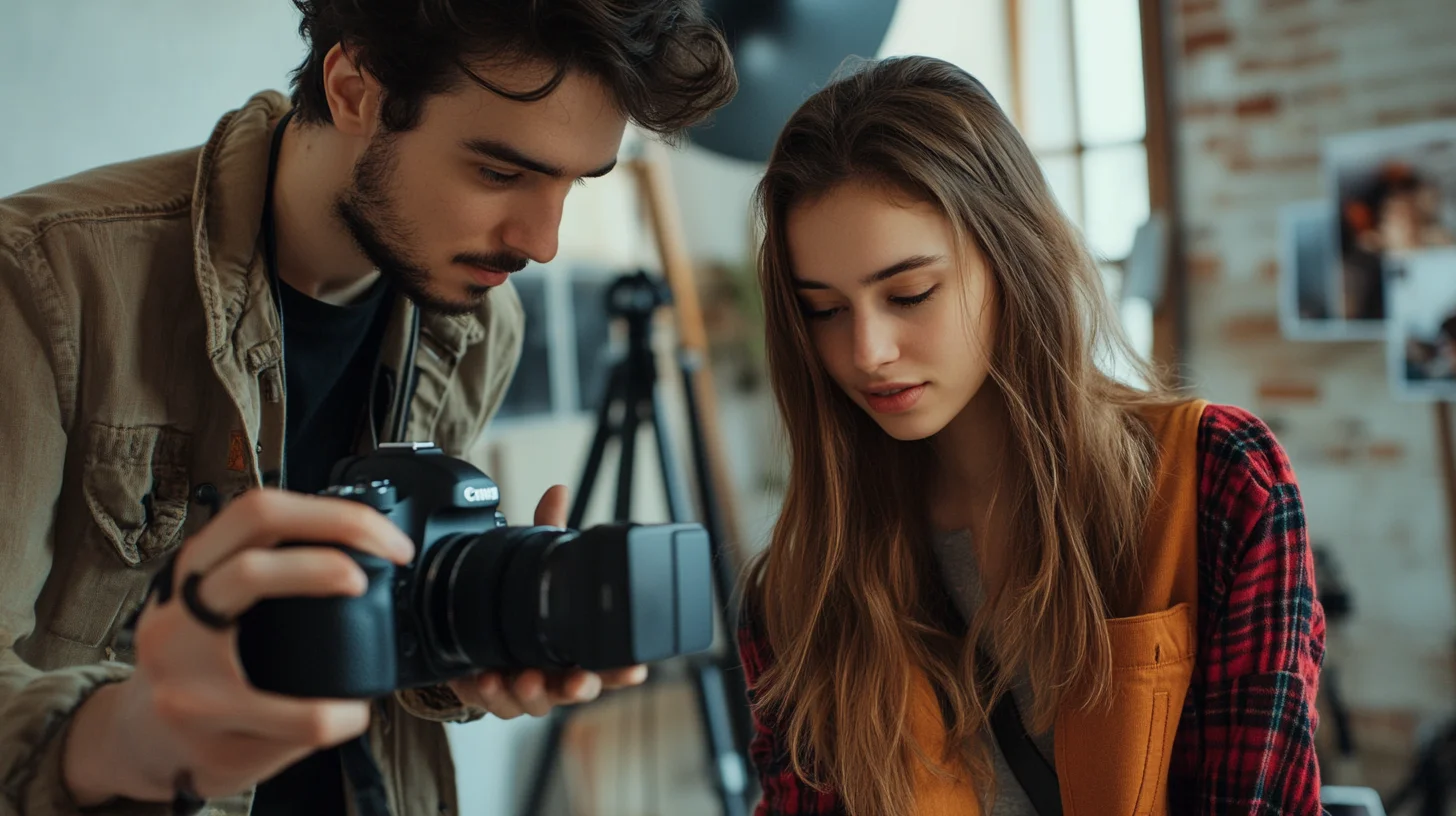
The fix: A genuine, relaxed expression with engaged eyes is the target — exactly how warm it should be depends on your industry, from a composed slight smile in finance and law to an open, friendly smile in sales, healthcare, and tech. The trick is that real expressions are coached, not held. In a session I talk with clients, get them laughing, and shoot through the natural moments rather than asking them to freeze. That's something a self-timer and a mirror genuinely can't replicate.
9. Low Resolution
Why it hurts: A small, soft, or heavily compressed file looks pixelated and blurry the moment it's displayed at any real size — and it betrays that the photo was pulled from somewhere it shouldn't have been, like a social media screenshot. Low resolution also fails outright for print: press kits, conference programs, and printed directories need far more detail than a downsized web image can provide.
The fix: Start with a high-resolution original — at least 1200 pixels on the short side for web, and a full-resolution file (300 DPI at print size) if there's any chance you'll print it. A professional session delivers files sized for both, so you're never stuck enlarging a tiny image and watching it fall apart.
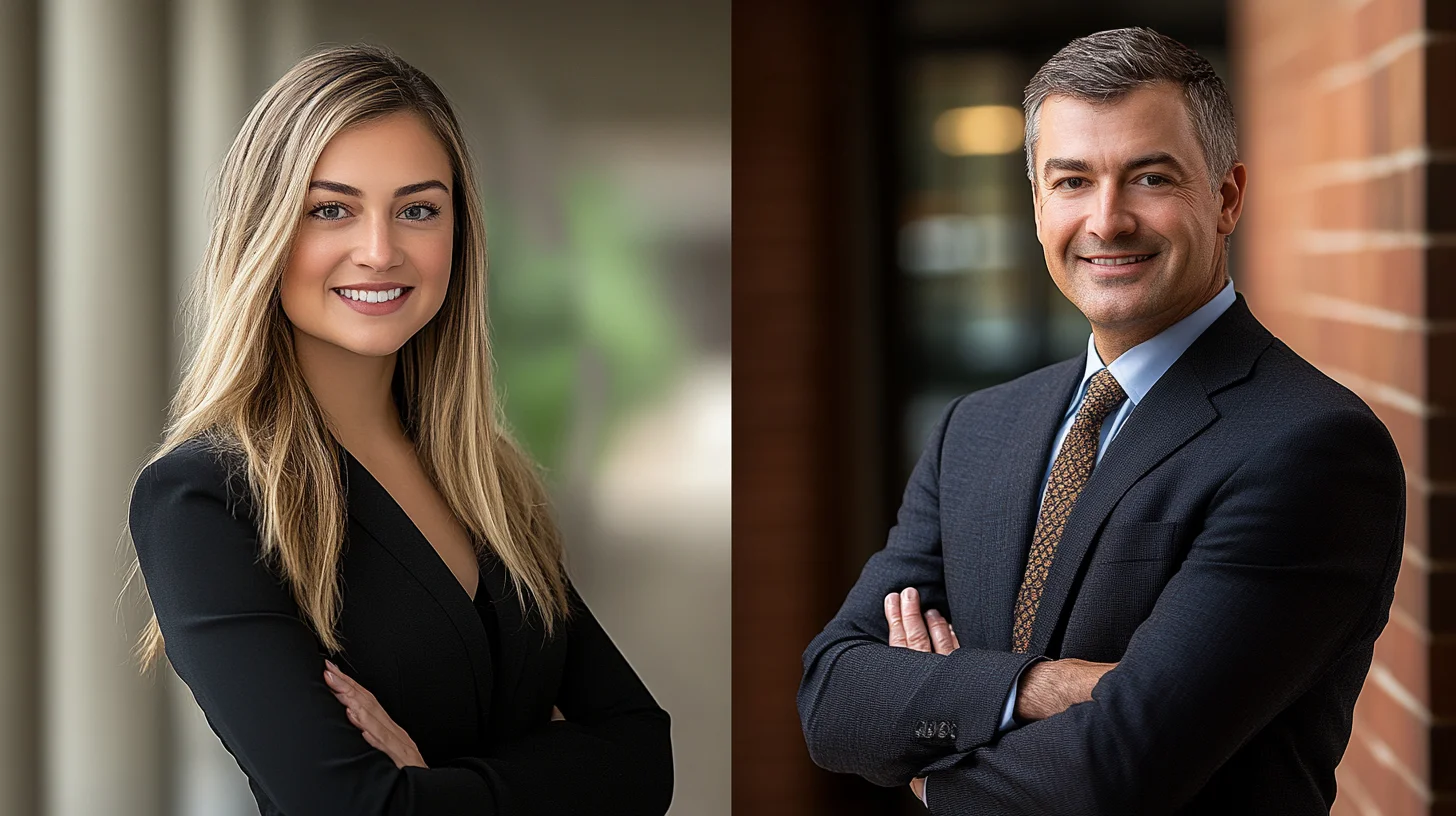
10. Inconsistency Across a Team
Why it hurts: This one only shows up in aggregate, but it's glaring. When a leadership page or staff directory mixes professional headshots with phone photos — different lighting, different backgrounds, different crops, different eras — the whole page looks disorganized, and the people with the weakest photos drag down everyone's perceived professionalism. A directory is judged as a set, not as individuals.
The fix: Book the whole team in one coordinated session so every photo shares the same lighting, background, and crop. A unified corporate headshots shoot — whether at the studio or on-site at your office — locks in that consistency, and the per-person cost drops sharply when you book the group together. When a new hire joins, match them to the existing setup rather than starting over.
11. Cropped From a Group Photo
Why it hurts: This is one I see constantly — someone crops themselves out of a wedding, a conference dinner, or a team photo and uses it as a headshot. The lighting is event lighting (warm, uneven, directional), the resolution is low because you've enlarged a fraction of the frame, and there's almost always a phantom shoulder, hand, or strand of someone else's hair lingering at the edge. It reads exactly as what it is.
The fix: Don't. A photo composed for one purpose rarely repurposes well for another. A headshot needs to be shot as a headshot — framed, lit, and posed for a single subject. If a group photo is all you have right now, treat it as a temporary placeholder and book a real session as soon as you can.
12. Sunglasses, Hats, and Anything That Hides the Face
Why it hurts: The entire point of a headshot is your face — specifically your eyes, which are how viewers read trust, confidence, and approachability. Sunglasses hide them completely. Hats throw shadows across the upper face and crop the head awkwardly. Even a heavy hair sweep across one eye, or a hand resting against the cheek, undercuts the directness that makes a headshot work.
The fix: Keep the face open and the eyes visible. Skip sunglasses, hats, and anything that casts a shadow or obscures your features. If you wear glasses every day, wear them — but have your photographer manage the reflections with light placement, so the lenses don't bounce back glare. The viewer should be able to look you straight in the eye.
Why a Professional Studio Session Solves Almost All of This at Once
Read back through those twelve mistakes and notice how many of them disappear the moment you're in a controlled studio. The lighting is shaped by multiple sources instead of one flat ceiling fixture. The background is clean and lit independently. The lens is long enough to render flattering proportions, eliminating phone distortion. The crop and framing are deliberate. The expression is coached in real time. The retouching is done by someone who knows exactly where to stop. And if it's a team, every photo matches.
That's the real argument for booking a session rather than fighting these problems one at a time with a phone and a window. You're not just buying a photo — you're buying the elimination of an entire category of mistakes. For most professionals the math is simple: a single session produces images that stay usable for years across LinkedIn, your company bio, proposals, and press, and it removes every "amateur tell" in one sitting. If you want to know what that actually costs in this market, the headshot pricing in Boston breakdown walks through every line item, and the LinkedIn headshots Boston page covers the platform-specific specs that matter for your profile photo.
Get a Headshot That Works For You, Not Against You
If your current headshot is guilty of two or three of the items on this list — and most are — it's quietly costing you first impressions you'll never get a second shot at. A professional session fixes the whole list in about an hour.
Get in touch to book a session at Photography Shark in Rockland, MA, 25 minutes south of Boston. For full details on what's included and pricing, see the Boston headshots service page. Sessions start at $395 with fully retouched images and commercial use included.
Related reading: Professional headshot vs selfie · LinkedIn headshots in Boston · Headshot cost in Boston · Corporate headshots · Headshot mistakes actors should avoid.
Frequently Asked Questions
What makes a headshot look bad or unprofessional?
The most common culprits are bad lighting (overhead, harsh, or direct flash that flattens the face and casts ugly shadows), a cluttered or distracting background, the wrong crop, phone selfie distortion that enlarges the nose and warps proportions, and over-retouching that turns skin to plastic. Any one of these reads as "amateur" instantly; most bad headshots have several at once. The good news is that every one of them is fixable, and most disappear entirely in a controlled studio setting.
Is a selfie ever okay for a professional headshot?
Rarely, and almost never as a true selfie taken at arm's length. Phone lenses are wide-angle, so holding the camera close enlarges the nose, narrows the ears, and distorts facial proportions in a way that always reads as "phone photo." If you must shoot it yourself, have another person hold the phone several feet back at eye level, use soft window light, and a clean background. Even then it won't match a professional session — but it beats an actual arm's-length selfie.
How often should I update my headshot?
Every two to three years for most professionals, or sooner if your appearance has changed noticeably — new hairstyle, weight change, glasses, facial hair, or significant aging. An outdated photo creates a credibility gap the moment someone meets you in person and you don't match the image. For actors, the rule is stricter: your headshot must look like you walk into the room today, not five years ago.
Can over-retouching ruin a headshot?
Yes. Heavy skin smoothing removes pores and natural texture, producing the waxy, plastic "filter face" that signals an amateur edit. Over-brightened eyes and teeth, liquified jawlines, and aggressive blemish removal all read as fake. Good retouching is invisible — it evens skin tone, removes temporary blemishes, and tames flyaway hair while preserving the texture and features that make you look like a real person.
Why do professional studio headshots look so much better?
Three reasons: controlled multi-light setups that shape the face from several angles instead of one flat source, a long portrait lens held back far enough to render flattering facial proportions, and a clean, independently lit background that separates you from the frame. Add a photographer directing your expression and posture in real time, plus professional retouching, and you get a result no phone-and-window setup can reliably match.
Related Posts
Photography Tips
How to Avoid a Double Chin in Photos: A Photographer's Guide
Photography Tips
Studio Headshots vs On-Location Headshots — Which to Choose
Photography Tips
The Model's Bill of Rights: Safety Standards Every Ethical Photographer Should Follow

Photography Tips
Free Model Release Form Template (Plus How to Read One Before You Sign)

Photography Tips
The Model Safety Checklist: 25 Things to Do Before, During & After a Shoot
Photography Tips
The Boston Student's Guide to Job & Internship Headshots
You Might Also Like
About the Author
Chris McCarthy
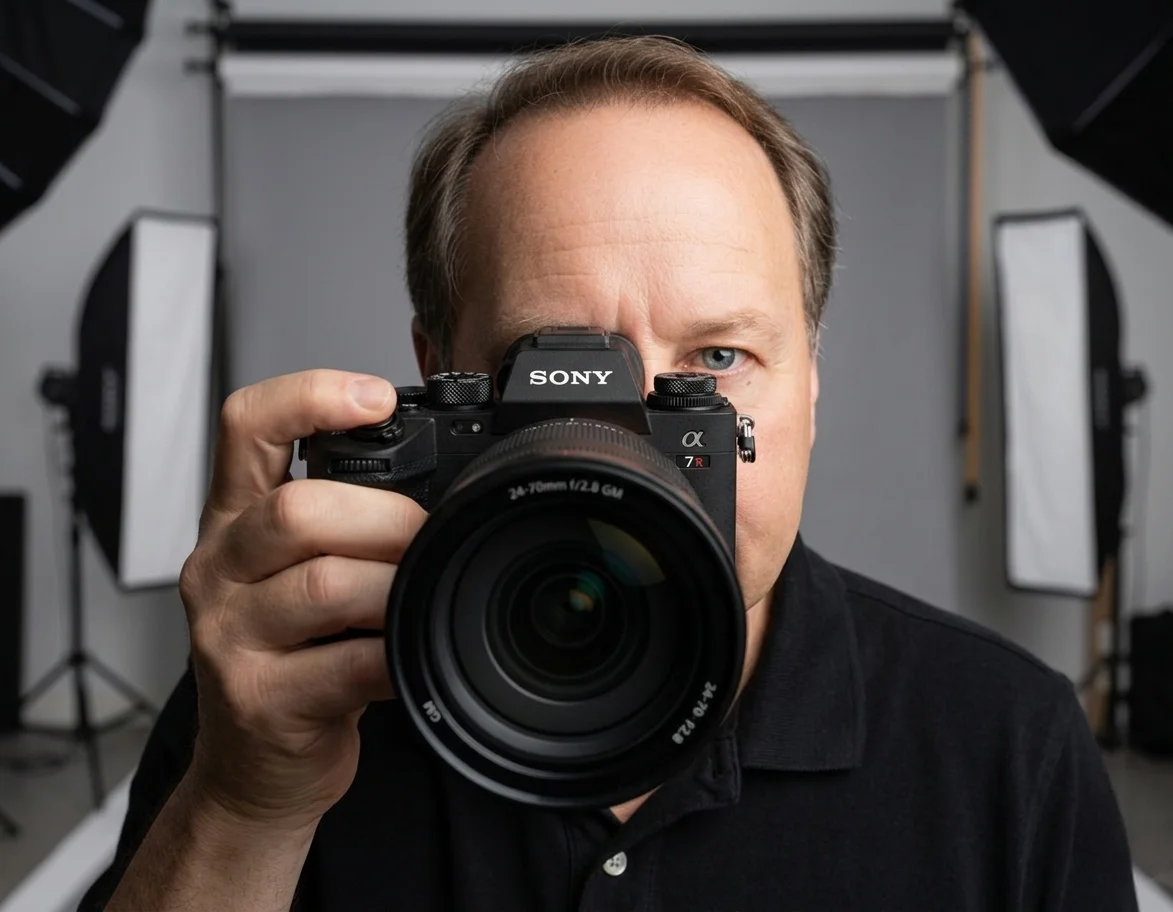
Chris McCarthy has run Photography Shark Studios in Rockland, MA for over 10 years and 500+ sessions, with executive headshot work for Rockland Trust, Clean Harbors, M&T Bank, and McCarthy Planning; founder portraits for AI startups including Lowtouch.ai; product photography for South Shore brands like Lauren's Swim; and headshots across South Shore legal, medical, financial, and academic practices. Every session is personally shot and edited by Chris on Sony mirrorless and Godox strobe systems — no assistants, no outsourcing, no batch retouching. Galleries deliver in 3–5 business days. More about the photographer →
Photography Shark · Boston & South Shore MA
Ready to Book a Session?
Professional headshots, senior portraits, boudoir, and model portfolios. Studio in Rockland, MA — 25 miles south of Boston. Sessions from $395.